Quick Start: Conduct a Test
Conduct an online test on TestoZa, step by step: make it from a PDF, photos or by typing, tap Conduct exam, share the link or a 6-digit join code, then read the results.
This is the short version: from an empty account to a marked rank list. Everything happens in a web browser on a phone or a computer, and the people taking your test (TestoZa calls them candidates) need no app and no account.
There are two ways to run a test. Start with the first one; move to the second when you run the same paper for several batches or send results to parents.
Two ways to run a test
- A test link — Class tests, homework, practice, a quick live test. My Tests → Conduct exam → share the link (or add a 6-digit join code).
- An exam room — A mock at a fixed time with a lobby, a Start button, roll number + PIN check-in and a rank list per batch. Exams → New exam → candidates type the code at testoza.com/join.
Way 1: conduct a test with a link
Step 1: Sign in
Open app.testoza.com/login and continue with Google, or sign up with your email and a password. The first time, choose Educator (or Institution) as your role.
Step 2: Make the test
Pick whichever matches what you already have:
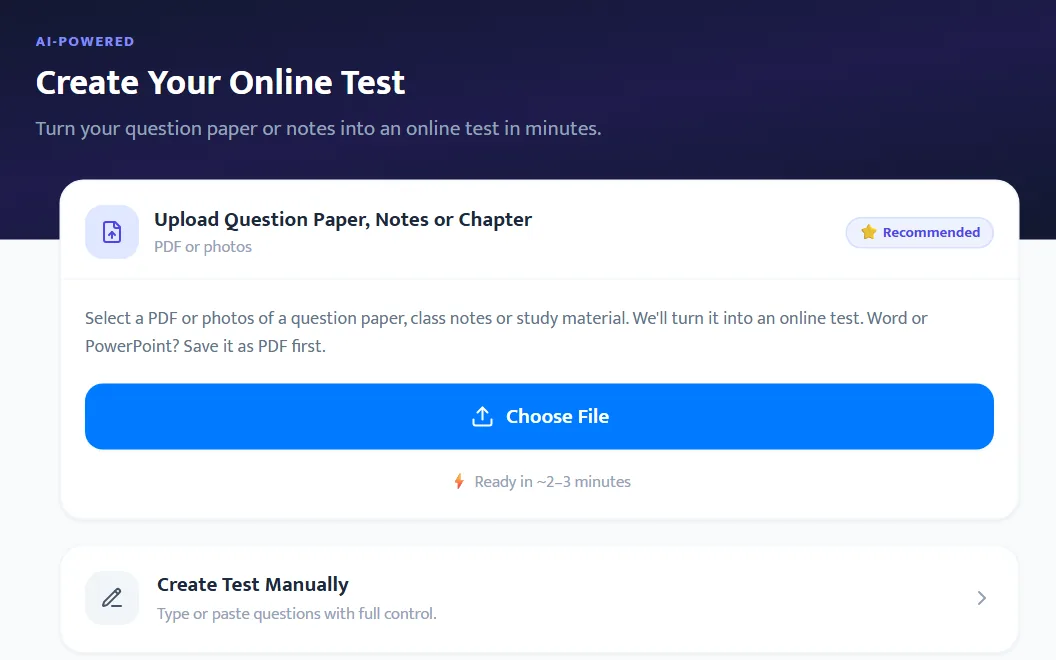
- A PDF or photos of a paper, notes or a chapter: open Generate with AI and choose the file (PDF, PNG, JPG or WEBP; save Word and PowerPoint files as PDF first). Extract Questions keeps an existing paper’s questions, options and answer key exactly; Generate New Questions writes new ones from a chapter or notes. Review the questions, set any answer marked orange, then press Save & continue. Details: AI Test Generation.
- Typing or pasting: open Create test. Add questions (single correct, multiple correct or a numerical answer), set marks and negative marks, sections and the timer. Fill from photo on a question reads one printed or handwritten question from a picture.
- Hundreds of questions at once: upload a JSON file (Bulk Test Upload).
Step 3: Check it in My Tests
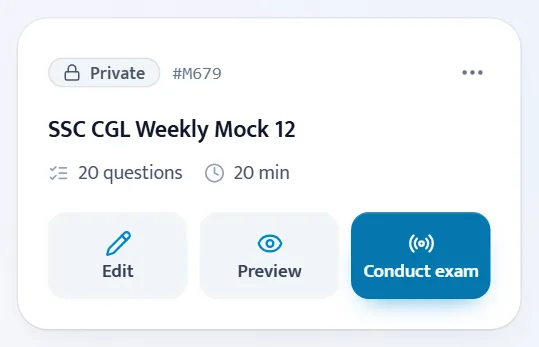
Open My Tests from the sidebar. Each test card has Edit, Preview and Conduct exam (and Results once someone has taken it). Press Preview to see the paper exactly as candidates will, and Edit to change anything.
Step 4: Press Conduct exam, then Start Conducting
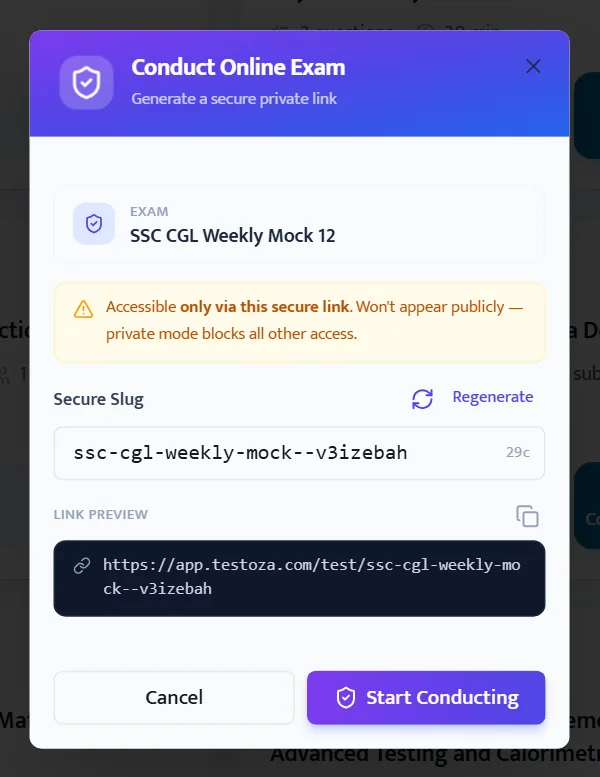
On the test’s card press Conduct exam. A window shows the exam’s own link; press Start Conducting. The test is now live and moves to the top of My Tests.
Step 5: Set the rules in Settings
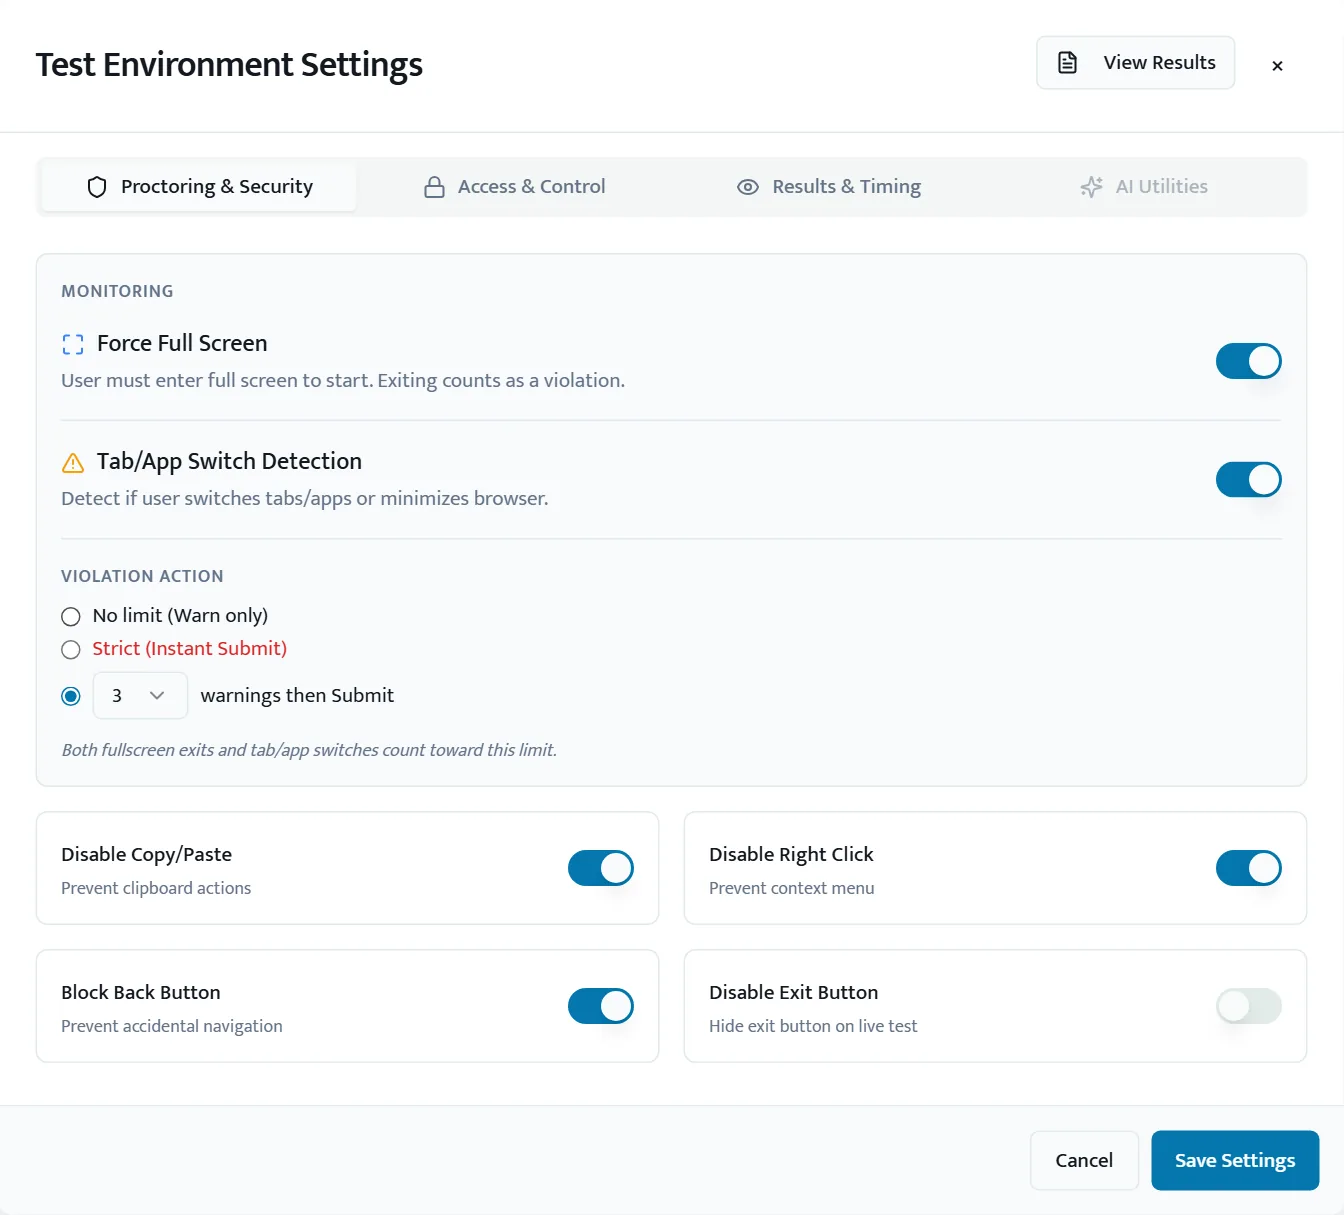
On the live exam press Settings (Test Environment Settings), then Save Settings:
- Proctoring & Security: full screen, app-switch (tab-switch) detection with a warning limit, copy and paste off.
- Access & Control: one attempt per candidate, and Candidate inputs, the details asked before the test starts (name, roll number, phone and so on).
- Results & Timing: when candidates see their result and answer key, and a strict server-side timer.
Until you turn the exam rules on, the card shows an amber Anti-cheating is off button as a reminder.
Step 6: Share the link, or a 6-digit join code
Press Share link on the live exam to send it to your class group on WhatsApp (on a computer the whole message is copied), or let them scan the QR code beside it.
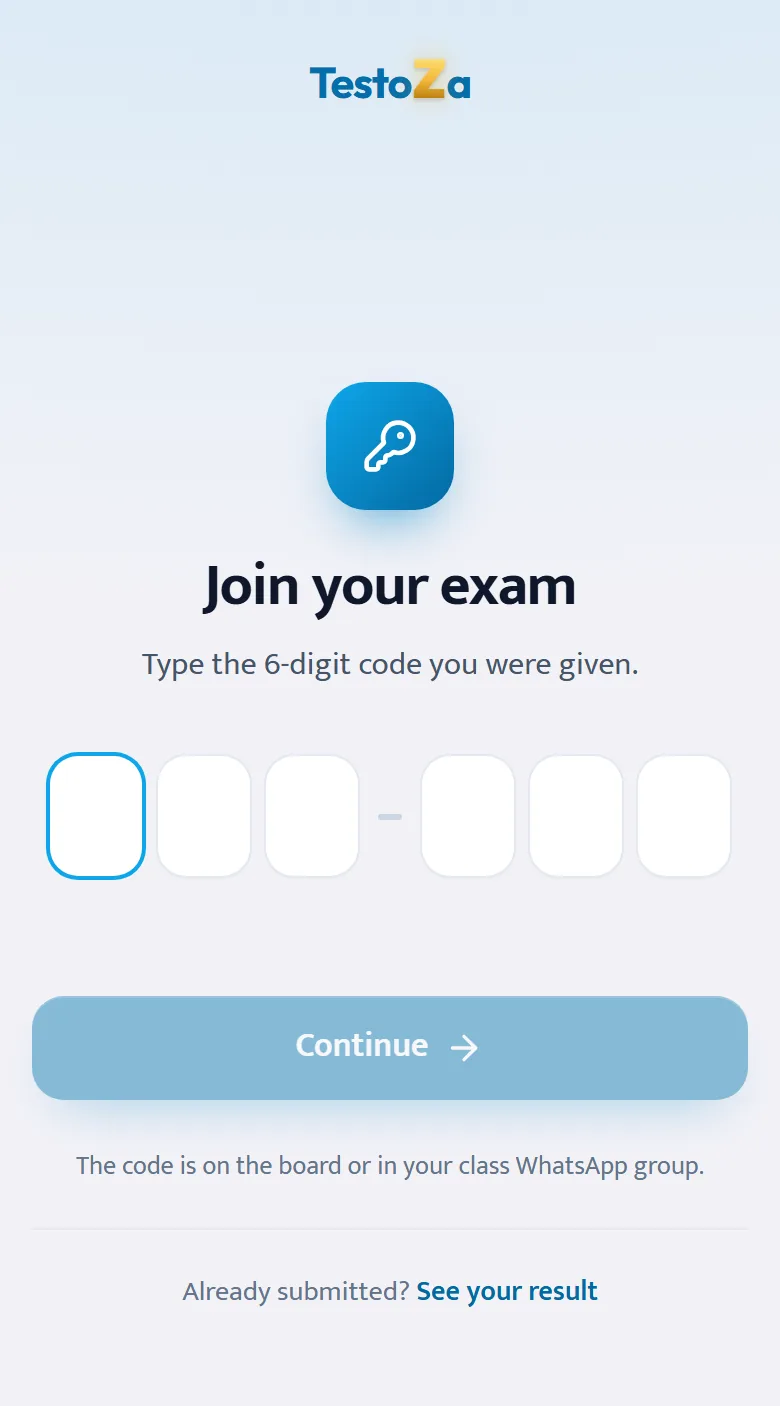
Prefer a code? In the exam’s ••• menu choose Get a join code. Candidates open testoza.com/join, type the six digits and land on the same exam. The code stops working when you stop the exam.
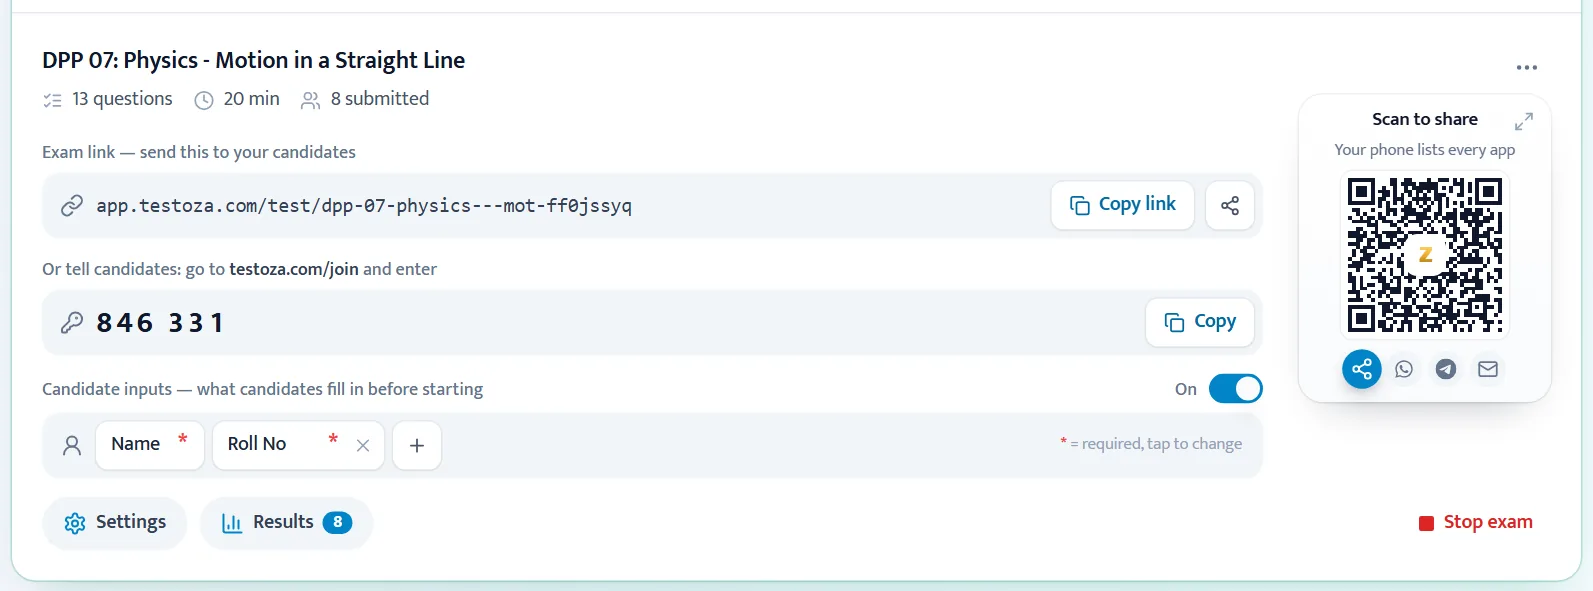
Step 7: Candidates take the test
They open the link (or type the code), fill in the details you asked for and start. Answers are marked automatically from your answer key, and the paper submits itself when the time runs out.
Step 8: Watch the results come in
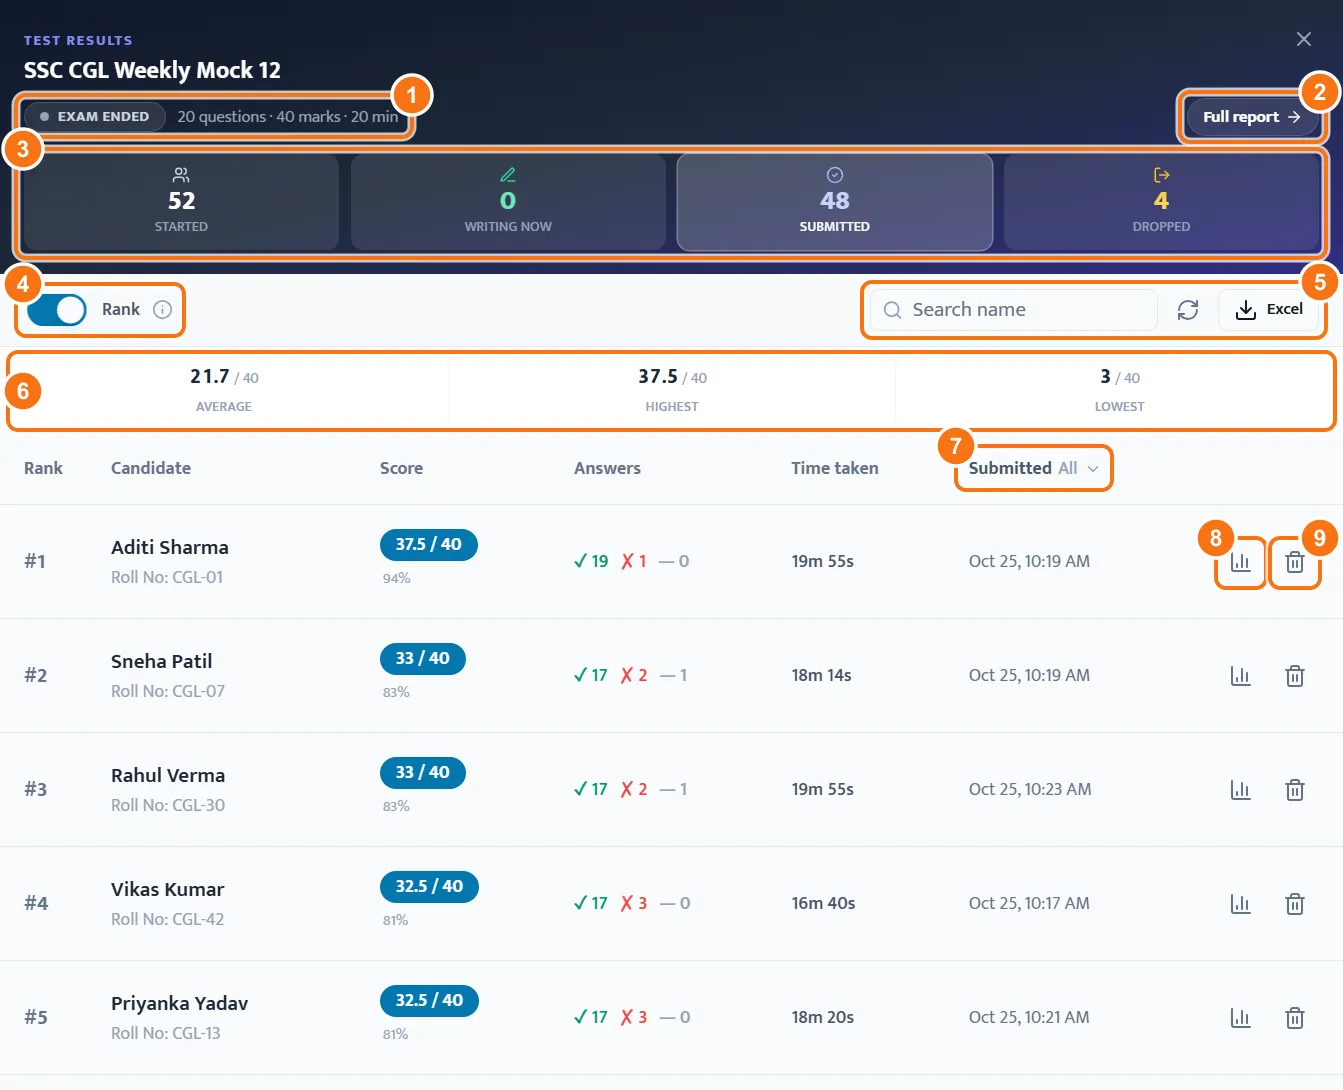
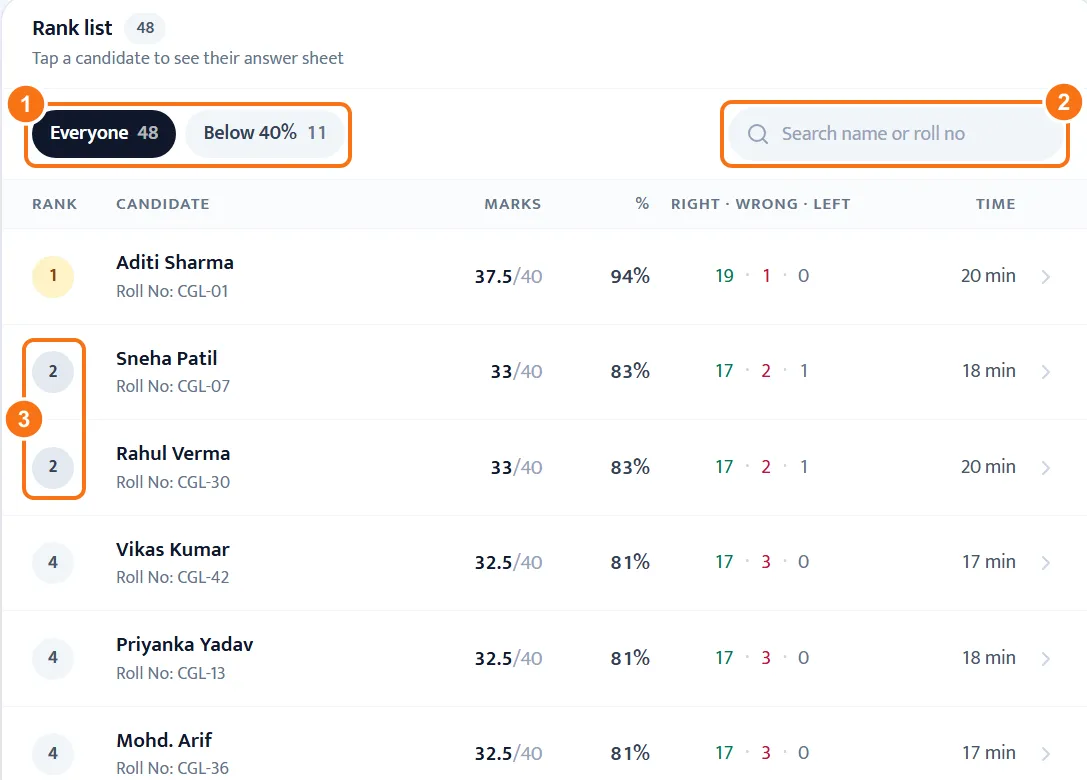
Press Results on the exam. The panel counts who has Started, who is Writing now, who has Submitted and who Dropped, and refreshes itself every 30 seconds while it is open. Turn on Rank for the merit list, open any candidate’s answer sheet, or download Excel. Full report shows how the class did, the questions to teach again and a rank list to send on WhatsApp. Details: Understanding Results.
Step 9: Stop the exam
Press Stop exam and choose Stop & Make Public (candidates can review the paper and results, and it stays open for practice) or Stop & Make Private (no further access; results and analysis hidden from candidates). The results stay saved under Ended exams.
Way 2: an exam room with a join code, lobby and rank list
Step 1: Optional: make a batch
Only needed for roll-number check-in or an absent list. Open Batches, press New batch, then Add candidates: paste roll number, name and parent phone columns from Excel, upload an Excel or CSV file, or add them one by one. For mocks that go to parents, open PINs and press Make PINs to print a slip with a 4-digit PIN for every candidate.
Step 2: Create the exam
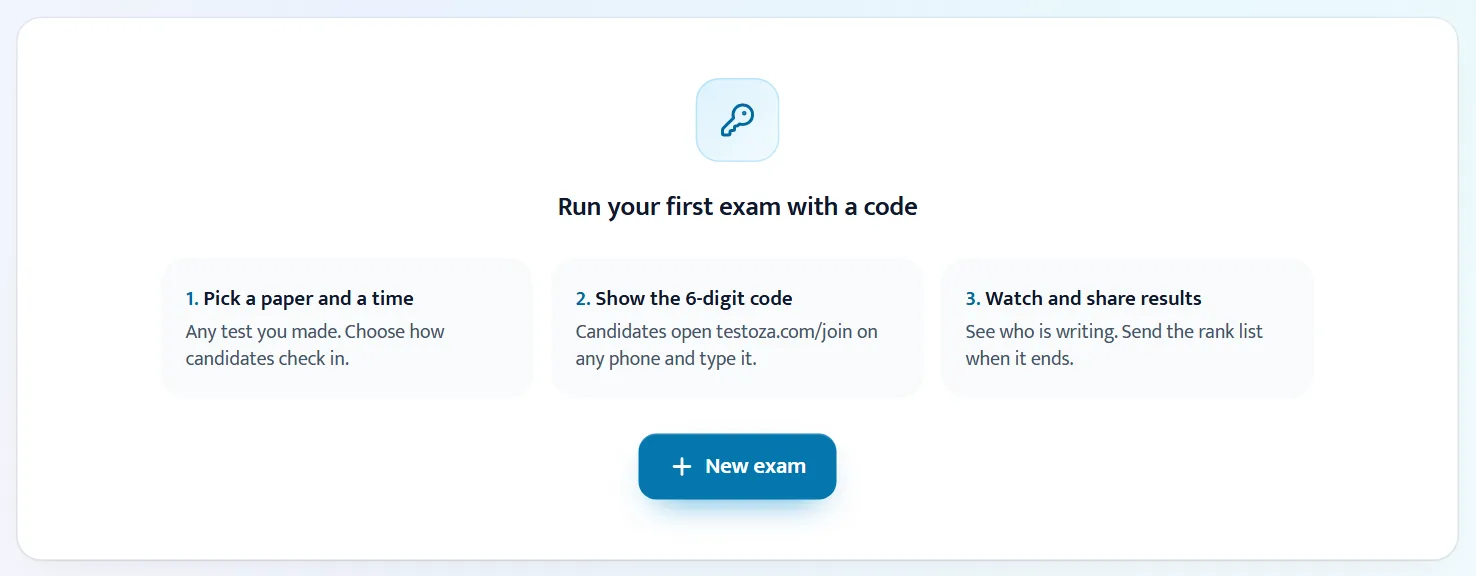
Open Exams and press New exam (or Give with a join code from a test’s menu on your dashboard). Only two things are needed: the question paper and when it starts. More options holds the rest, with safe defaults: no batch, name check-in, 15 minutes of late entry, results when the exam ends.
Press Create exam. You get the 6-digit code, a QR code and a WhatsApp message ready to send.
Step 3: On exam day, open the room
Open the exam and press Projector: the code, the QR code and the names of candidates who have joined fill the screen, without marks. Candidates wait in the lobby. With On time the exam starts by itself; with I tap Start, press Start exam now and every candidate gets a Start button at the same moment.
Step 4: Watch it live
The Candidates tab refreshes every few seconds and lifts anyone who needs a look to the top: no signal, warnings, a changed device. Give one candidate (or everyone) more time, end one candidate’s paper, or issue a new PIN. A candidate whose phone dies joins again on any device with the same details; saved answers come back and the timer carries on.
Step 5: End the exam and send results
Press End exam, or let it close on time; unfinished papers are submitted with their last saved answers. The Results tab has the rank list (Send rank list on WhatsApp), an Excel file, a WhatsApp message for each parent, printable report cards and a re-test with a new code for absentees.
What candidates do
- Open the link from the teacher, or go to testoza.com/join and type the 6-digit code.
- Type the details asked for: a name, a roll number, or a roll number and PIN.
- In an exam room, wait in the lobby until the exam starts.
- Answer, using Save & Next, Mark for review and the question palette, then submit. The paper submits itself when time is up.
- See the result on the same page once it is released, or later at testoza.com/join/result with the same code and details.
What TestoZa does not do
- Camera, microphone or screen-recording proctoring. Exam rules work in the browser: full screen (not on iPhone), app-switch detection, copy and paste off.
- Making a test from a YouTube video. The AI reads PDFs and pictures (PNG, JPG, WEBP).
- Uploading Word or PowerPoint files directly: save them as PDF first.
- Marking written (descriptive) answers. Question types are single correct, multiple correct (with optional partial marks) and numerical answers, exact or within a range.
- A mobile app or an offline mode. TestoZa runs in the browser.
Questions
Do candidates need an account or an app?
No. They open the link or type the 6-digit code at testoza.com/join, enter their name (or the details you asked for) and start, on any phone or computer with a browser.
What is the difference between Conduct exam and New exam?
Conduct exam (in My Tests) puts one test live behind a link, optionally with a join code; candidates can start whenever they open it. New exam (in Exams) creates an exam room for one sitting: a start time, a lobby, check-in by name, roll number or roll number + PIN, a live monitor and a rank list for that batch. The same paper can be used for many exam rooms.
Do I have to make a batch first?
No. Batches are optional. Without one, candidates check in with their name. Make a batch when you want roll-number or PIN check-in, an absent list or WhatsApp messages to parents.
How do I add negative marking?
Each question has a Marks and a Wrong field (for example +4 and −1) in the test builder; you can set them once for a section or a whole test. Partial marks for multiple-correct questions are Proportional or JEE Advanced.
Where do I see the answers each candidate gave?
Results → tap a candidate to open their answer sheet: every question, their answer, the right answer and the time they spent.
Last updated 2026-11-06.